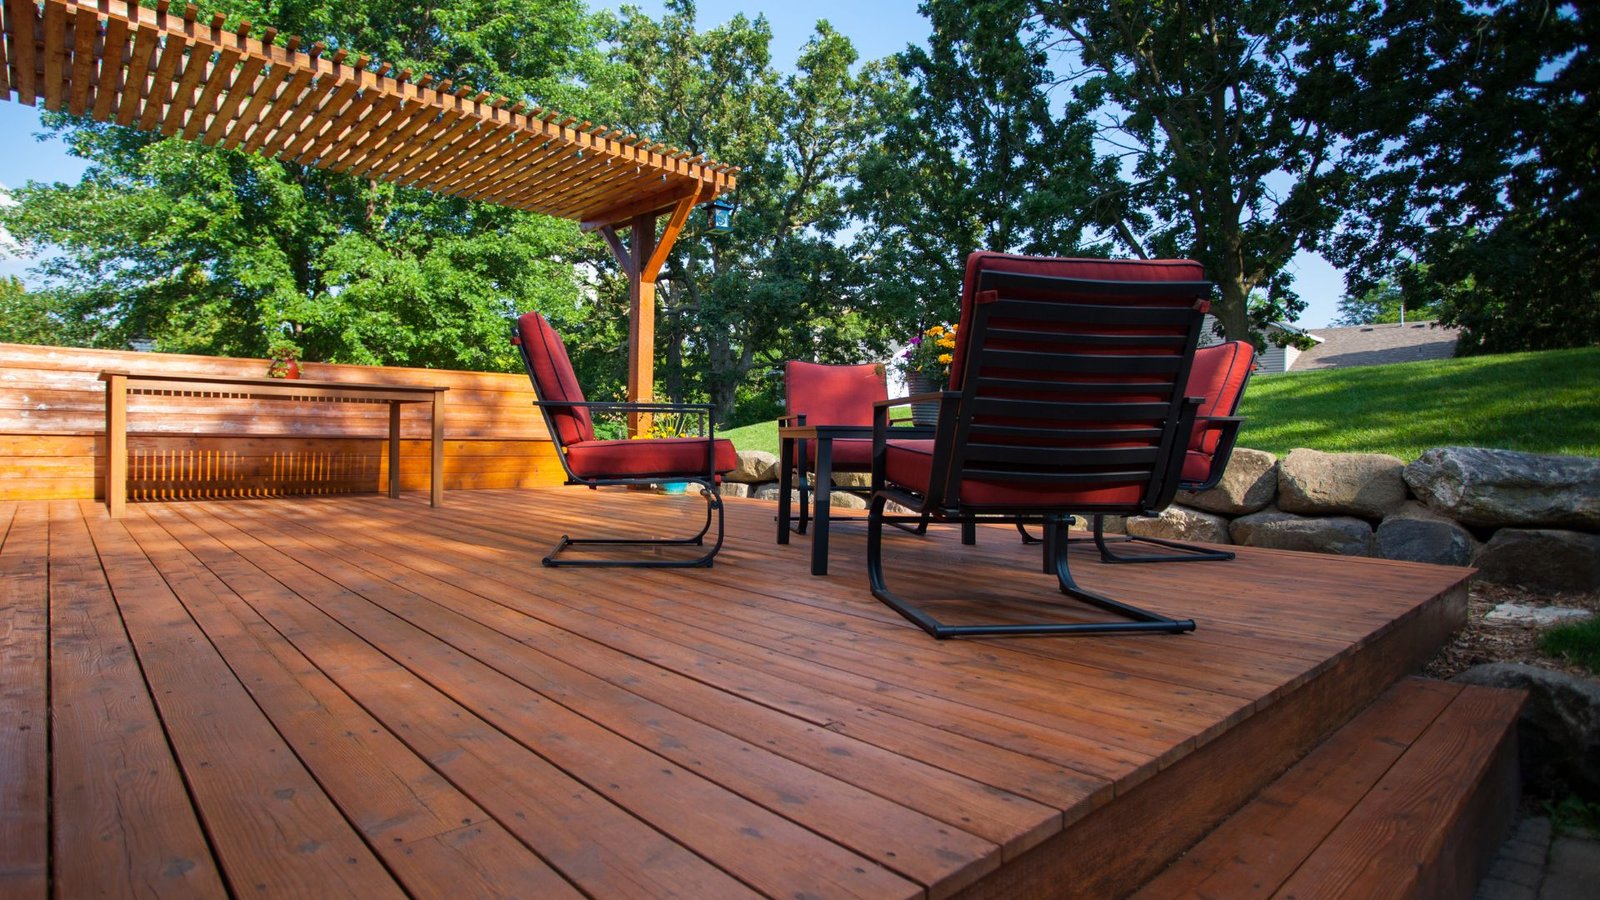
Welcome to our comprehensive guide on how to build steps for a deck in New Zealand! Whether you’re looking to upgrade your outdoor space or make your deck more accessible, adding steps is a practical and rewarding project. Properly built steps not only enhance the safety and functionality of your deck but also boost its overall appearance and value. In this guide, we’ll walk you through everything you need to know, from planning and choosing the right materials to the step-by-step process of construction. So, if you’re ready to take your deck to the next level, let’s get started with creating beautiful, durable steps that will stand the test of time in New Zealand’s unique climate!
To build steps for a deck in New Zealand, start by measuring the height and width of your deck to determine the number of steps needed. Cut and install stringers, ensuring they are securely attached to the deck frame. Add the treads and risers, making sure they are level and properly secured. Use weather-resistant materials suitable for NZ’s climate, like treated pine or hardwood, to ensure durability. Finally, finish with sanding and staining to match your deck, and consider adding non-slip features for safety.
Table of Contents
Understanding The Basics
Building a deck for your New Zealand home can not only extend your living space but also enhance your property’s aesthetic appeal and overall value. Here’s a deeper look at why you might consider adding steps to your deck, the specific considerations for New Zealand homes, and the essential details about building codes and permits.
Why Build Deck Steps?
- Ease of Access: Deck steps are primarily built to provide safe and easy access to the deck from the yard or exit your home. This is especially useful in homes with elevated decks where the height can pose a barrier to outdoor enjoyment. By integrating steps, you ensure that everyone, from young children to older adults, can access the deck with ease.
- Improved Design: Steps can add a significant visual element to your deck. They can be designed to complement the architecture of your home and the layout of your backyard. Whether you opt for wide, cascading steps or compact, neat designs, they can enhance the overall look of your outdoor space.
- Increased Property Value: Adding deck steps not only improves functionality and aesthetic appeal but can also increase the resale value of your home. Well-designed decks with easy access are often high on the checklist for prospective home buyers, making this a wise investment.
Considerations for New Zealand Homes
Building a deck with steps in New Zealand requires special considerations to adapt to local conditions and ensure longevity and safety:
- Weather Conditions: New Zealand’s varied climate means that the materials used need to withstand everything from intense sun to heavy rainfall and coastal winds. Choosing durable materials that can handle these conditions is crucial.
- Types of Wood: Some woods perform better in New Zealand’s climate than others. Hardwoods like Kwila and Vitex are popular for their durability and resistance to rot and pests, which is essential in humid and wet climates. Treated Pine, while more affordable, is also a viable option as it’s treated to resist decay, insects, and fungal growth.
- Building Regulations: New Zealand has specific environmental and aesthetic considerations. Ensuring that your deck design harmonizes with your home’s existing structure and your neighborhood’s style is important for community integration and approval.
Building Codes and Permits
Before beginning construction on your deck steps, it’s crucial to be aware of the local building codes and permits required in New Zealand:
- Local Building Codes: These codes are designed to ensure safety and are particularly stringent with structures like decks, which need to support significant weight and withstand local weather conditions. Adhering to these codes not only ensures safety but also avoids legal issues that could arise from non-compliance.
- Permits: Depending on the size and height of your deck, a building permit may be required. This is typically the case if the deck is above a certain height or size. Checking with your local council before you start building will provide you with all the necessary guidelines and requirements for your project.
In summary, adding steps to your deck can greatly enhance the functionality, design, and value of your home in New Zealand. However, it’s crucial to take into consideration the local climate, choose the right materials, and comply with all relevant building codes and permits to ensure that your deck is both safe and successful.
Planning Your Deck Steps
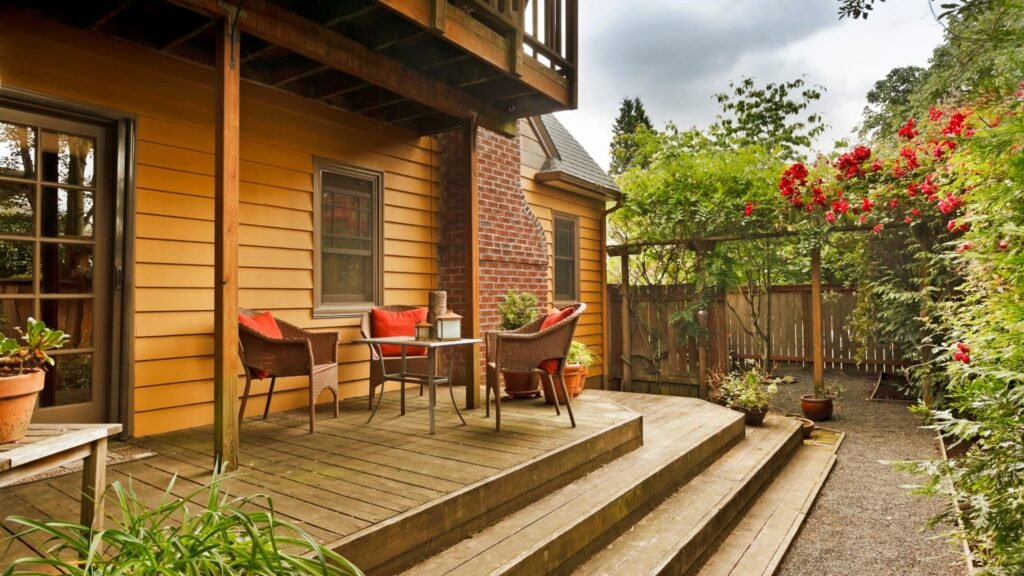
When it comes to building a deck, planning your steps carefully can make a significant difference in both the appearance and functionality of your outdoor space. Deck steps should be sturdy, well-proportioned, and blend seamlessly with the overall design. Below, we delve into the specifics of measuring and designing steps, choosing the right materials, and the tools you’ll need to bring your project to life.
Measuring and Designing the Steps
Step 1: Measuring for Size
To begin, accurately measure the height (rise) and distance (run) where your steps will be installed. This is crucial for determining both the number and size of the steps you’ll need. To calculate the height of each step, measure the total rise from the ground to the deck’s surface. For instance, if your deck is 24 inches off the ground, and you want each step to be 6 inches high, you will need four steps.
Step 2: Calculating Number of Steps
The formula for calculating the rise and run of your steps is essential for safety and comfort. A typical rise (vertical part) is about 4 to 7 inches; a comfortable run (horizontal part) is about 10 to 12 inches. Use the rise and run formula to determine the number of steps needed:
- Divide the total rise by the desired height of each step to find the number of steps.
- Adjust the rise or run slightly to fit the space and ensure each step is uniform.
Choosing the Right Materials
Types of Wood for Deck Steps
In New Zealand, popular woods for deck steps include pine, cedar, and various hardwoods. Each type has its characteristics:
- Pine: Affordable and readily available, pine is a good starter option but requires regular maintenance and treatment to resist decay.
- Cedar: Naturally resistant to rot, cedar is a more durable option than pine but comes at a higher price point.
- Hardwood: Durable and robust, hardwoods like kwila and vitex are excellent for steps exposed to the elements, though they are the most expensive.
Treated Timber vs. Composite Materials
The choice between treated timber and composite materials depends on your budget, maintenance willingness, and aesthetic preference.
- Treated Timber: Economical and strong, treated timber is excellent for those who prefer a natural wood look but don’t mind periodic maintenance to prevent decay and pest infestation.
- Composite Materials: These blend wood fibers with plastics and come pre-colored. Composites are more costly upfront but require less maintenance, making them a wise choice for those looking for longevity and minimal upkeep.
Tools You’ll Need
Building deck steps requires some basic tools and safety equipment. Ensure you have the following before starting your project:
- Saw: For cutting wood to the required lengths.
- Hammer: For nailing steps together or removing any protruding nails.
- Measuring Tape: Essential for accurate measurement of materials.
- Spirit Level: To ensure your steps are perfectly horizontal and stable.
- Drill: For securing the steps with screws, which provides more strength than nails.
- Safety Gear: Safety goggles, gloves, and ear protection are vital to protect against injuries.
By following these detailed steps and preparing with the right tools and materials, you can build deck steps that are not only functional but also enhance the aesthetic appeal of your outdoor space. Whether you opt for the natural elegance of wood or the durability of composite materials, the right planning and tools will help you achieve a safe and satisfying result.

Step-By-Step Guide To Building Deck Steps
Creating a beautiful and functional deck involves more than just laying boards for a flat surface. One of the most crucial aspects of a deck is its accessibility, and what better way to achieve this than by adding well-crafted steps? Below, you’ll find a detailed, step-by-step guide on how to build deck steps from scratch, ensuring they’re both sturdy and aesthetically pleasing.
Step 1: Prepare the Site
Before any actual building can start, preparing the site is a fundamental step. Begin by clearing away any debris, rocks, or vegetation from the area where the steps will be built. Once cleared, the next task is to level the ground. This is crucial as it prevents future structural issues and ensures the safety and longevity of the steps. Use a shovel and rake to smooth out the area, and consider using a level or a transit level to ensure the ground is perfectly flat and even.
Step 2: Cut the Stringers
Stringers are the backbone of your deck steps, acting as the main support structure on which everything else rests. Understanding how to measure and cut them accurately is key to ensuring the integrity of your deck steps.
- First, you need to know what stringers are: they are the diagonal pieces of wood that run from the top of the deck down to the ground at the front of the steps. To measure stringers, determine the height and depth of your steps and calculate the number of steps needed. A framing square can be instrumental here, helping you to mark out precise cut lines on your stringer boards.
When cutting the stringers, ensure each cut is clean and sharp to maintain the strength of the wood. A circular saw is typically used for the initial cuts, and a handsaw can finish off any corners that need a more detailed approach.
Step 3: Install the Stringers
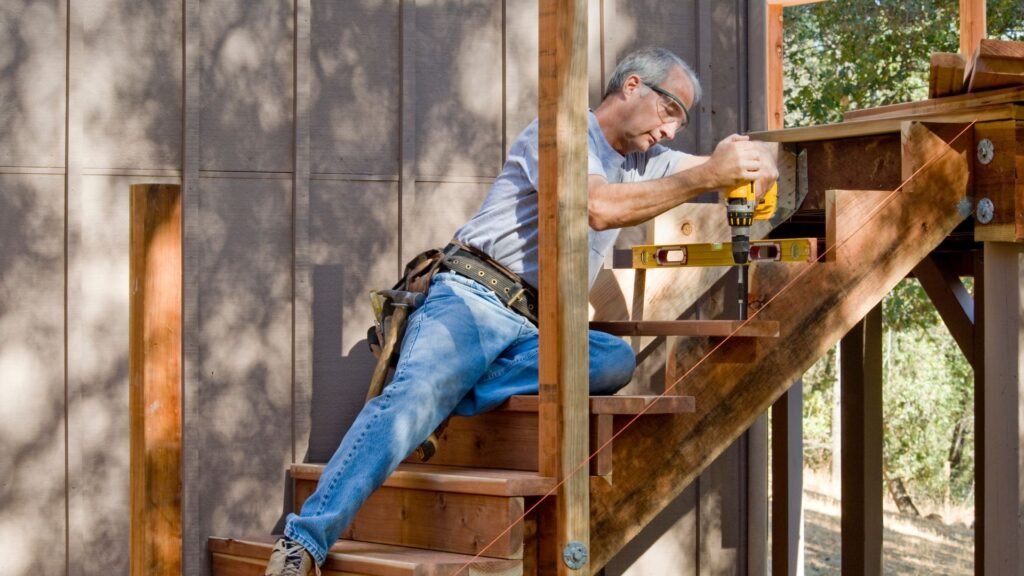
Once your stringers are cut, it’s time to install them. Attach each stringer to the deck frame using heavy-duty screws or bolts. It’s essential to ensure that each stringer is properly aligned and secure. Use a level to check the stringers at several points to make sure they are even and won’t lead to uneven steps, which can be a tripping hazard.
Step 4: Attach the Treads and Risers
Treads are the horizontal boards that form the step surface, and risers are the vertical sections that sit between each step. Cutting these to the right size is important for the overall look and functionality of the steps.
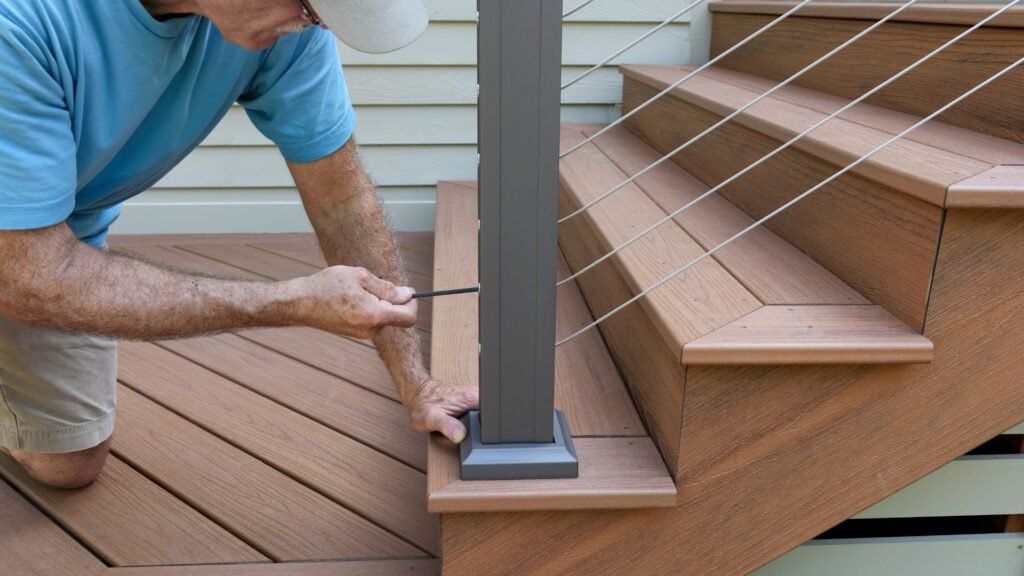
Attach the treads and risers using galvanized screws or nails to prevent rust and corrosion. Make sure they are firmly attached to the stringers with no wiggle room. To enhance safety, consider adding anti-slip strips to the treads to prevent accidents, especially in wet weather.
Step 5: Finishing Touches
Now that your steps are built, you might want to give them a finished look that complements your deck. Sanding the wood can smooth out any rough edges, reducing the risk of splinters. Staining or painting the wood can protect it from the elements and help it blend in with or stand out from the rest of your decking, depending on your aesthetic preference.
Adding decorative touches such as lighting or railings can enhance both the safety and appearance of your deck steps. Lighting is especially useful for illuminating the steps at night, while railings can provide necessary support and security for those using the steps.
By following these detailed steps, you can create a set of deck steps that are not only functional but also enhance the overall look of your outdoor space. Remember, careful planning and precise execution are key to building steps that are safe and lasting.
Common Mistakes To Avoid
When embarking on any building or renovation project, such as constructing or remodeling steps, it’s essential to sidestep common pitfalls that can turn your project into a frustrating experience. Here’s a deep dive into three frequent errors to avoid, ensuring your project is completed to the highest standard.
Incorrect Measurements
One of the most crucial aspects of any construction project is accuracy in measurements. This is especially true when it comes to building steps, where precision is key. Even minor discrepancies in measurements can lead to significant problems, such as unstable or uneven steps that can be a safety hazard. It’s not just about aesthetics; incorrect measurements can compromise the structural integrity of the steps, making them less durable and more likely to need repairs sooner than expected.
To avoid this, always double-check your measurements at every stage of the construction process. Use reliable tools and, if possible, get a second opinion to confirm the accuracy. Planning with meticulous attention to detail can save both time and resources, and most importantly, ensure that the steps are safe for everyday use.
Choosing the Wrong Materials
The choice of materials can greatly influence the durability and safety of your steps. In New Zealand’s variable climate, which can swing from intense sun to heavy rainfall, selecting the right materials is even more critical. Untreated or low-quality wood is particularly susceptible to these changes, leading to quicker deterioration, rot, or mold growth.
For outdoor steps, it’s advisable to use materials that are specifically treated for outdoor use and capable of withstanding the local weather conditions. Hardwoods or pressure-treated woods are excellent choices as they are more resistant to rot and pests. Investing in quality materials might seem costly upfront but will undoubtedly save money in the long run by reducing maintenance costs and extending the lifespan of your steps.
Ignoring Building Codes
Building codes are established to ensure safety, compliance, and uniformity in construction projects. Ignoring these regulations can not only lead to fines and penalties but also pose serious safety risks. Non-compliance might result in having to redo parts or all of your project to meet local standards, which can be both costly and time-consuming.
It’s vital to familiarize yourself with the building codes applicable in your area before starting your project. These might include specific requirements for step dimensions, materials, and placement, among others. Compliance not only ensures that your steps are safe but also enhances the overall value of your property by adhering to recognized standards.
In conclusion, taking the time to meticulously plan and execute your step construction project can prevent these common mistakes. Accurate measurements, appropriate material selection, and adherence to building codes are crucial steps that will ensure the success and longevity of your project. Engaging with professionals and consulting with local building authorities can provide further assurance that your construction meets all necessary criteria and is built to last.

Maintenance Tips For Deck Steps
Creating and maintaining deck steps that are safe, sturdy, and stylish requires regular attention and care. Here’s a detailed guide on how to keep your deck steps in top condition, ensuring they remain a beautiful and functional part of your home for years to come.
Regular Inspection
- Frequency and Focus: At least twice a year, as the seasons change, take the time to inspect your deck steps thoroughly. This regular check-up is crucial to spot any potential safety hazards or signs of wear before they become serious problems.
- What to Look For: Pay special attention to common issues such as loose nails or screws, which can easily be tightened or replaced. Check for cracks in the wood or any signs of wood rot, which could compromise the structure’s integrity. If any part of the step feels unstable underfoot, it’s a sign that it needs immediate attention.
- Pro Tip: Using a flashlight, look underneath the steps to inspect areas that are not immediately visible. This can help you catch issues hidden from plain sight, such as the start of rot or rust on the supporting hardware.
Cleaning and Staining
- Best Practices for Cleaning: Keeping your deck steps clean not only enhances their appearance but also prevents the buildup of dirt and debris that can contribute to wear and tear. Start by sweeping the steps thoroughly. Use a putty knife to remove any debris stuck between boards. For a deep clean, use a mild soap solution or a wood cleaner and a stiff brush to scrub the steps clean, then rinse with water.
- Staining for Protection and Appeal: After cleaning, applying a fresh coat of stain can greatly extend the life of your wood steps by protecting them from UV rays and moisture. Choose a stain that matches the existing color or go for a new shade for a fresh look. Make sure the steps are completely dry before you start staining, and always apply the stain with a brush or roller in thin, even coats.
- Weather Considerations: Plan your cleaning and staining project for a dry, mild day. High humidity or direct, hot sunlight can affect how well the stain adheres and cures.
Safety Upgrades
- Non-Slip Coatings: To enhance safety, especially in wet or icy conditions, consider applying a non-slip coating. These coatings are available in various forms, such as clear paints or granular additives mixed with a topcoat, providing traction without compromising the steps’ aesthetic appeal.
- Grip Tape: An immediate solution for slippery surfaces is grip tape. Available in various colors and textures, grip tape can be applied directly to the step surface where foot traffic is highest. It’s an easy, cost-effective way to increase traction and reduce the risk of slips and falls.
- Lighting: Adding lights to your deck steps not only improves safety by increasing visibility at night but also enhances the overall ambiance of your outdoor space. Consider installing small LED lights along the sides or risers of the steps for a subtle, inviting glow.
Maintaining your deck steps doesn’t have to be a daunting task. With regular inspections, proper cleaning and staining, and strategic safety upgrades, you can ensure that your deck remains a safe, comfortable, and attractive space for entertaining and relaxing. Remember, a little maintenance goes a long way in preserving the longevity and beauty of your outdoor living areas

FAQs: About How To Build Steps For A Deck NZ
How much does it cost to build steps for a deck in NZ?
The cost to build steps for a deck in New Zealand varies depending on materials, size, and design. On average, you might spend between NZD 300 to NZD 800 for a standard set of wooden steps, including treated timber and basic hardware.
What type of wood is best for deck steps in New Zealand?
Treated pine, cedar, and hardwoods like kwila are popular choices for deck steps in New Zealand. These woods are durable, resistant to rot, and perform well in NZ’s climate. Treated pine is a cost-effective option, while hardwoods offer greater longevity.
Do I need a permit to build deck steps in New Zealand?
In many cases, you might not need a permit for low-level deck steps. However, if the steps exceed a certain height or if your deck is attached to a raised platform, you should check with your local council’s building regulations to ensure compliance.
How do I calculate the number of steps I need for my deck?
To calculate the number of steps, measure the total rise (height from the ground to the top of the deck) and divide it by the ideal rise per step (usually between 150-180 mm). This will give you the number of steps needed.
What safety features should I add to deck steps in NZ’s climate?
Adding non-slip treads or grip tape to each step is a good idea, especially in areas prone to rain. You might also consider installing handrails for extra safety and stability, depending on the height of the steps.
Can I use composite materials for deck steps in New Zealand?
Yes, composite materials are an excellent choice for deck steps. They are low-maintenance, weather-resistant, and durable, making them ideal for NZ’s varying weather conditions. However, they tend to be more expensive than natural wood.
How can I maintain my deck steps to extend their lifespan?
Regularly inspect the steps for signs of wear, such as loose nails or cracks. Clean them with a mild detergent to remove dirt and mildew, and reapply stain or sealant every couple of years to protect the wood from moisture and UV damage.
What are stringers, and why are they important in deck steps?
Stringers are the structural components that support the treads and risers of the steps. They are crucial for stability, acting as the framework that holds everything in place. Properly measured and cut stringers ensure that your steps are level and secure.
How can I make my deck steps look more appealing?
You can enhance the appearance of your deck steps by staining or painting them to match your deck. Adding decorative touches like integrated lighting, decorative risers, or planters on either side of the steps can also boost their visual appeal.
What is the best way to attach deck steps to the ground?
To ensure stability, you should secure the bottom of your deck steps to a concrete base or landing pad. This helps prevent the steps from shifting or settling over time, providing a firm foundation for regular use.
Conclusion
Concluding our discussion on building deck steps, let’s quickly revisit the crucial steps involved in this DIY project. From measuring and cutting your wood to assembling and securing the steps, each phase is pivotal for creating a sturdy and aesthetically pleasing structure. We encourage you to embrace this project with confidence, armed with the guidance we’ve provided. Remember, while taking on deck steps can be a rewarding endeavor, don’t hesitate to reach out to a professional for more intricate designs or if you find yourself needing a bit of extra help along the way. Whether you decide to DIY or call in the experts, you’re now well-equipped to enhance your outdoor living space with beautifully crafted deck steps.
About the Author:
Mike Veail is a recognized digital marketing expert with over 6 years of experience in helping tradespeople and small businesses thrive online. A former quantity surveyor, Mike combines deep industry knowledge with hands-on expertise in SEO and Google Ads. His marketing strategies are tailored to the specific needs of the trades sector, helping businesses increase visibility and generate more leads through proven, ethical methods.
Mike has successfully partnered with numerous companies, establishing a track record of delivering measurable results. His work has been featured across various platforms that showcase his expertise in lead generation and online marketing for the trades sector.
Learn more about Mike's experience and services at https://theleadguy.online or follow him on social media:

