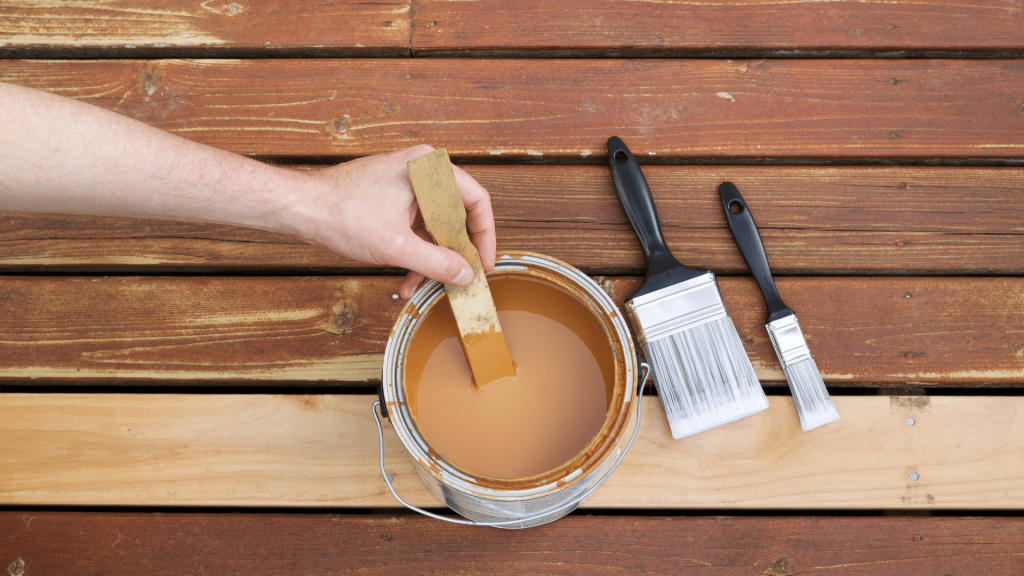
Welcome to our comprehensive guide on how to stain a deck in New Zealand. Staining your deck is essential for protecting it from the harsh weather conditions, including rain and intense UV rays, while also enhancing its natural beauty and extending its lifespan. In this article, we’ll walk you through the entire process, from choosing the right stain to applying it effectively and maintaining your deck afterward. Whether you’re a seasoned DIY enthusiast or a first-time deck owner, this guide will provide you with the knowledge and confidence you need to achieve professional results and keep your outdoor space looking stunning for years to come.
To stain a deck in New Zealand, start by thoroughly cleaning the deck to remove dirt, mold, and old stains. Choose a high-quality stain suited for NZ’s climate, considering options like water-based or oil-based stains. Apply the stain evenly using a brush, roller, or sprayer, working with the wood grain. Allow the stain to dry completely between coats, and avoid staining in direct sunlight or wet conditions. Regular maintenance, including periodic cleaning and touch-up staining, will keep your deck looking beautiful and protected from the elements.
Table of Contents
Why Staining Your Deck Is Important
Protection from Weather Elements
Staining your deck is crucial in safeguarding it from the harsh weather elements it faces year-round. Rain, for instance, can seep into the wood, causing it to swell and eventually rot if left untreated. On the other hand, UV rays from the sun can cause the wood to dry out, leading to cracks and splintering. By applying a high-quality stain, you create a protective barrier that repels moisture and blocks harmful UV rays, ensuring that your deck remains structurally sound and visually appealing through all seasons.
Prevention of Wood Decay and Splintering
Wood is a natural material that is susceptible to decay and splintering over time, especially when exposed to fluctuating weather conditions. Without proper care, your deck can become a safety hazard due to loose or broken boards. Staining your deck helps to prevent these issues by sealing the wood, keeping moisture out, and maintaining its integrity. This treatment not only stops the wood from decaying but also keeps it smooth, reducing the risk of splinters which can be painful and dangerous.
Enhancing the Aesthetic Appeal of Your Outdoor Space
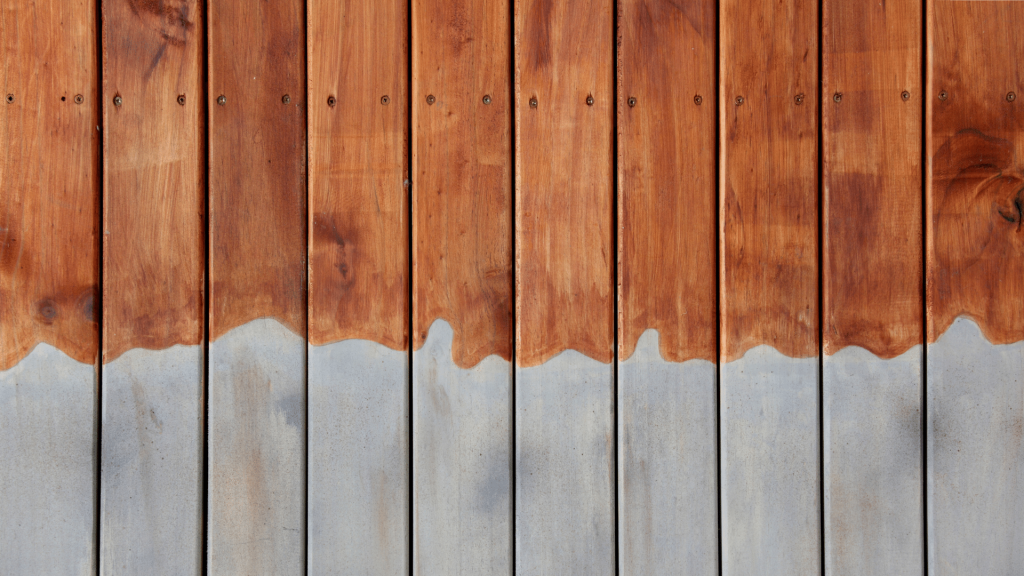
A well-stained deck can significantly enhance the overall aesthetic appeal of your outdoor space. Stains come in various colors and finishes, allowing you to choose a look that complements your home and landscape. Whether you prefer a natural wood finish that highlights the grain or a bold color that makes a statement, staining provides a versatile solution to customize your deck’s appearance. This improvement can transform your deck into an inviting area for relaxation and entertainment, adding to the beauty of your property.
Increasing the Lifespan of the Deck
Investing time and effort into staining your deck can substantially increase its lifespan. Regular maintenance through staining protects the wood from the elements, preventing premature aging and deterioration. By keeping your deck in good condition, you avoid costly repairs or the need for a complete replacement. This not only saves you money in the long run but also ensures that you can enjoy your deck for many years to come. Staining is a proactive step in preserving the longevity and functionality of this valuable outdoor feature.
Choosing The Right Stain For Your Deck
Choosing the right stain for your deck is crucial for both its appearance and longevity. Whether you’re aiming for a natural look or a vibrant finish, the type of stain you select will make a significant difference. In this section, we’ll explore the types of stains available, popular brands in New Zealand, and the key factors you should consider.
Types of Stains Available: Water-Based vs. Oil-Based
When it comes to deck stains, the two primary options are water-based and oil-based stains. Each has its advantages and drawbacks, making them suitable for different scenarios.
Water-Based Stains
Water-based stains are known for their quick drying times and ease of cleanup. They penetrate the wood surface and provide a durable finish that resists mold and mildew. Water-based stains are also eco-friendly, emitting fewer volatile organic compounds (VOCs) compared to their oil-based counterparts. They are ideal for newer decks or those previously stained with water-based products.
Oil-Based Stains
Oil-based stains penetrate deeply into the wood, offering excellent protection against moisture and UV rays. They enhance the natural grain of the wood, giving a rich, warm finish. However, they take longer to dry and can be more challenging to clean up, often requiring solvents. Oil-based stains are typically better for older decks with worn or rough surfaces, as they can rejuvenate and preserve the wood.
Popular Brands and Options in New Zealand
In New Zealand, several brands offer high-quality deck stains. Some popular options include.
- Resene Woodsman: Known for its durability and wide range of colors, Resene Woodsman is a top choice for many homeowners.
- Cabot’s: Offering both water-based and oil-based options, Cabot’s stains are celebrated for their ease of application and long-lasting results.
- Wattyl Decking Stain: This brand provides excellent protection against the elements and enhances the wood’s natural beauty.
- Dulux TimberColour: Dulux offers a variety of colors and finishes, making it easy to achieve the desired look for your deck.
Factors to Consider
When selecting a stain for your deck, consider the following factors to ensure the best results.
Wood Type
Different types of wood react differently to stains. Softwoods like pine may absorb stains more readily, while hardwoods like teak or mahogany might require multiple applications for an even finish. Choose a stain formulated for your specific wood type to achieve the best coverage and protection.
Deck Age
The age of your deck can influence the type of stain you should use. Newer decks might benefit more from water-based stains, while older decks can be revitalized with oil-based stains. Ensure the wood is properly prepared before staining, regardless of its age.
Desired Finish
Consider the look you want to achieve. Water-based stains often provide a more natural, matte finish, while oil-based stains can enhance the wood’s grain and offer a glossier appearance. Test a small area before committing to a particular stain to ensure it meets your aesthetic expectations.
Pros and Cons of Different Stain Types
Water-Based Stains
Pros
- Quick drying
- Easy cleanup with soap and water
- Low VOCs, environmentally friendly
- Resistant to mold and mildew
Cons
- May not penetrate as deeply as oil-based stains
- Can raise the grain of the wood, requiring additional sanding
Oil-Based Stains
Pros
- Deep penetration for excellent protection
- Enhances natural wood grain
- Longer-lasting finish
- Better for older or rougher wood surfaces
Cons
- Longer drying times
- Requires solvents for cleanup
- Higher VOCs, less eco-friendly
Choosing the right stain for your deck involves understanding the differences between water-based and oil-based products, considering reputable brands available in New Zealand, and taking into account factors like wood type, deck age, and desired finish. By weighing the pros and cons of each option, you can ensure your deck looks beautiful and stays protected for years to come.
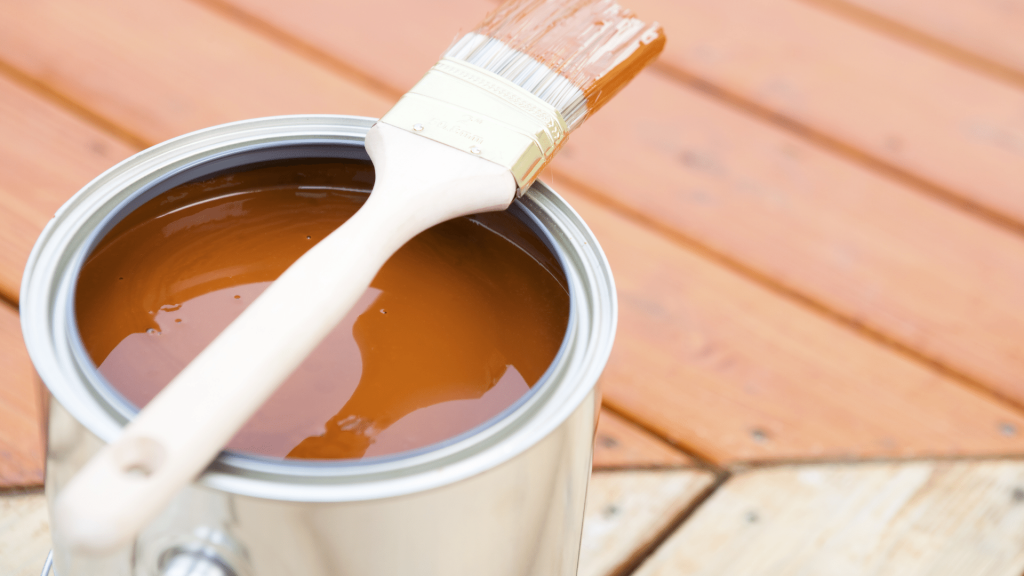
Tools And Materials Needed For Deck Staining
Staining your deck is a rewarding DIY project that can extend the life of your wood and enhance your outdoor space’s aesthetic appeal. However, to achieve the best results, it’s crucial to have the right tools and materials on hand. This section provides a comprehensive list of everything you’ll need, from essential tools to safety equipment.
Essential Tools
1. Brushes: High-quality brushes are necessary for detailed work, such as corners and edges. Look for brushes specifically designed for staining, as they hold more stain and apply it evenly.
2. Rollers: Rollers can cover large areas quickly and are perfect for the main deck surface. Use a roller with a medium nap to ensure an even coat.
3. Sprayers: If you’re looking to speed up the process, a sprayer can be a great option. Sprayers are especially useful for intricate railings and latticework. Ensure you practice first to avoid uneven application or overspray.
4. Extension Poles: Attach these to your rollers to reach high or difficult-to-access areas without straining your back.
5. Drop Cloths: Protect nearby plants, furniture, and other surfaces from drips and splatters by laying down drop cloths.
Materials Required
1. Stain: Choose a high-quality stain suitable for outdoor use. You’ll have options like transparent, semi-transparent, or solid stains, each offering different levels of color and wood grain visibility.
2. Wood Cleaner: Before staining, it’s essential to clean your deck thoroughly. A good wood cleaner will remove dirt, mildew, and old stains, preparing the surface for a new coat.
3. Sandpaper: Sanding your deck helps remove any remaining old stain and smoothens the wood surface, allowing the new stain to adhere better. Use medium-grit sandpaper for this task.
4. Painter’s Tape: Use tape to protect areas you don’t want stained, such as the house siding or deck hardware.
Safety Equipment
1. Gloves: Wear durable, chemical-resistant gloves to protect your hands from stain and wood cleaner.
2. Goggles: Eye protection is crucial when using chemicals and applying stain, especially if you’re using a sprayer.
3. Masks: A good quality mask will protect you from inhaling harmful fumes from the stain and wood cleaner. Look for masks rated for use with paint and chemical fumes.
Additional Tips
- Preparation is Key: Ensure your deck is completely dry before starting the staining process. Moisture in the wood can prevent the stain from adhering properly.
- Check the Weather: Plan to stain your deck on a dry, mild day. Extreme heat or rain can affect the staining process and final outcome.
- Test a Small Area First: Always test your stain on a small, inconspicuous area of the deck to ensure the color and finish meet your expectations.
By gathering all these tools and materials ahead of time, you’ll set yourself up for a successful and efficient deck staining project. Remember, proper preparation and the right equipment make all the difference in achieving a professional-looking result.

Preparing Your Deck For Staining
Proper preparation is key to achieving a beautiful and long-lasting stained deck. Follow these steps to ensure your deck is ready for staining.
Cleaning the Deck
Before you start staining, it’s crucial to thoroughly clean your deck. This step removes dirt, mold, and mildew, which can affect the stain’s adherence and longevity.
Removing Dirt, Mold, and Mildew
Begin by sweeping your deck to remove loose debris such as leaves and dirt. Next, focus on eliminating any mold or mildew. A mixture of water and mild detergent can be effective for this purpose. For stubborn spots, consider using a deck cleaner specifically designed to tackle mold and mildew.
To apply the cleaner, use a stiff-bristle brush or a sprayer. Scrub the surface thoroughly, paying extra attention to areas with visible mold or mildew. Rinse the deck with a hose or a pressure washer, but be cautious with the pressure setting to avoid damaging the wood. Allow the deck to dry completely before moving on to the next step.
Recommended Cleaning Products and Methods
Several cleaning products on the market are designed for deck preparation. Oxygen bleach cleaners are a popular choice because they effectively remove dirt and organic stains without damaging the wood or the environment. Another option is a commercial deck cleaner, which often contains mildewcides and surfactants to break down grime.
For those who prefer DIY solutions, a homemade cleaning mixture of vinegar and baking soda can also work wonders. Mix one cup of vinegar with one gallon of water and add a cup of baking soda. Apply this solution with a scrub brush, then rinse thoroughly.
Repairs and Maintenance
Once your deck is clean, inspect it for any necessary repairs and maintenance. This ensures the surface is in optimal condition for staining.
Checking for Loose Boards or Nails
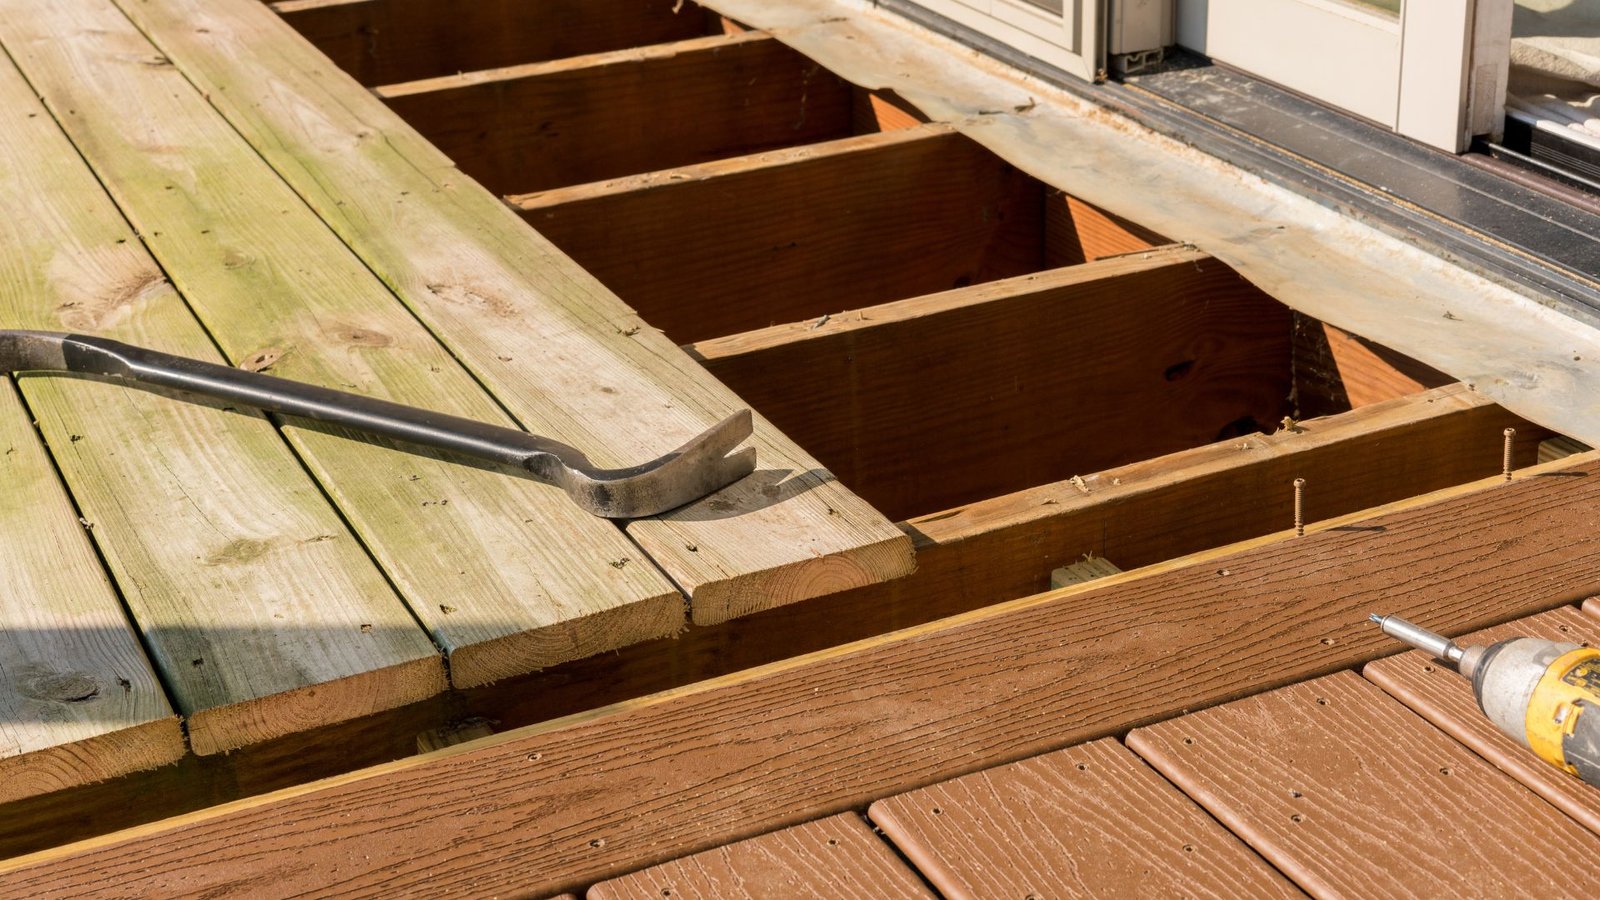
Walk around your deck and check for any loose boards or protruding nails. These can pose safety hazards and affect the uniformity of the stain. Tighten any loose screws or nails, or replace them if necessary. If you encounter boards that are damaged beyond repair, consider replacing them to maintain the deck’s integrity.
Sanding Rough Spots or Previous Stains
Sanding is an important step to ensure a smooth and even staining surface. Focus on areas where the wood is rough or where previous stains are peeling or flaking. Use medium-grit sandpaper (around 80-100 grit) for this task. Sand in the direction of the wood grain to avoid creating unsightly scratches.
After sanding, sweep the deck again to remove dust and debris. A tack cloth can also be useful to pick up fine particles that may have settled on the wood.
Protecting Surrounding Areas
Before you start staining, it’s essential to protect the surrounding areas to prevent accidental staining and damage.
Plants, Furniture, and Other Objects
Cover nearby plants and shrubs with plastic sheeting or drop cloths to shield them from the stain. Move any furniture, grills, or other objects off the deck to give you a clear workspace and prevent any unwanted staining on these items.
Use painter’s tape to protect the edges of your house and any other structures adjacent to the deck. This helps ensure clean lines and prevents the stain from splattering onto surfaces where it’s not intended.
By following these preparation steps, you’ll set the stage for a successful staining project. A clean, well-maintained deck allows the stain to adhere properly and enhances the overall appearance and durability of the wood. Proper preparation not only makes the staining process smoother but also ensures your deck looks stunning and lasts longer.

Step-By-Step Staining Process
Staining your deck is a rewarding project that can enhance the beauty and longevity of the wood. To ensure you get the best results, follow this comprehensive guide on the step-by-step staining process.
Weather Considerations: Choosing the Right Day to Stain
Weather plays a crucial role in the success of your staining project. Aim for a day with mild temperatures, ideally between 10°C and 30°C (50°F and 86°F). Avoid staining in direct sunlight or on extremely humid days, as these conditions can cause the stain to dry too quickly or not adhere properly. Overcast days are often perfect for staining, as they provide consistent lighting and moderate temperatures.
Applying the Stain
Proper application techniques can make a significant difference in the final appearance of your deck. Here are the steps to follow.
1. Test a Small Area First
Before committing to the entire deck, test the stain on a small, inconspicuous area. This helps ensure you like the color and finish. Allow the test patch to dry completely to see the true result.
2. Techniques for Even Application
- Brush: A brush is ideal for getting into the grain of the wood and ensuring thorough coverage. Use a high-quality brush designed for staining.
- Roller: Rollers can cover large areas quickly. Choose a roller with a medium nap to hold an adequate amount of stain.
- Sprayer: For even faster application, a sprayer can be used. However, it requires more preparation to protect surrounding areas from overspray.
3. Working with the Grain of the Wood
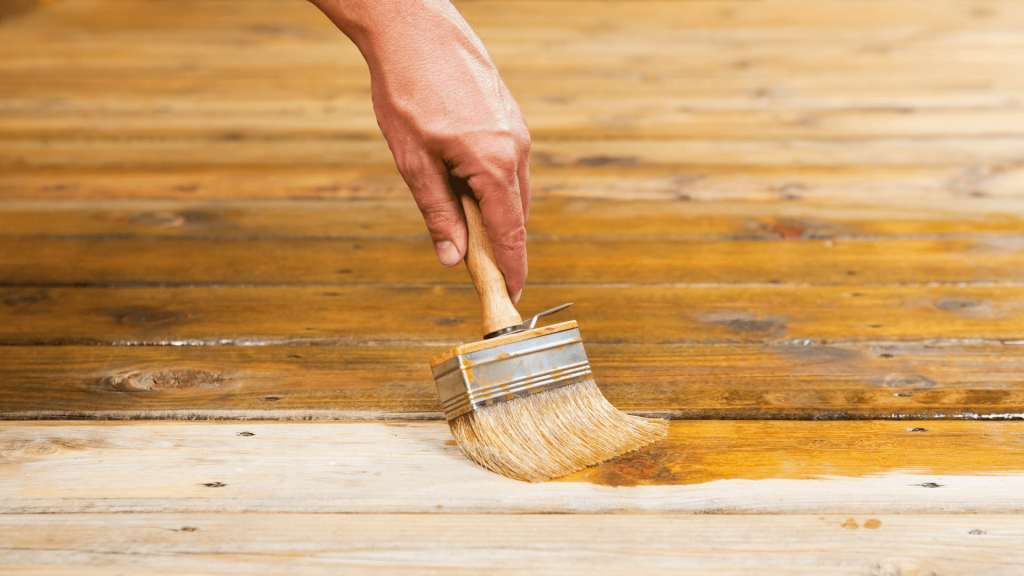
Always apply the stain in the direction of the wood grain. This helps the stain penetrate the wood fibers more effectively and creates a more natural look. Start with the railings and edges, then move to the larger surfaces.
Multiple Coats: When and How to Apply a Second Coat
Applying multiple coats of stain can enhance the color and protection of your deck. Here’s how to do it correctly.
1. First Coat: Apply the first coat evenly and let it penetrate the wood. Allow sufficient drying time as per the manufacturer’s instructions—typically, this can range from a few hours to a full day.
2. Second Coat: If a second coat is needed, apply it after the first coat has thoroughly dried. A second coat can deepen the color and provide extra protection. Be careful not to over-apply, as too much stain can cause the surface to become sticky or uneven.
Drying Time and Conditions
Proper drying time is essential to ensure the stain sets correctly and provides lasting protection. After applying the stain, keep the deck free from foot traffic and furniture for at least 24-48 hours. Ideal drying conditions include moderate temperatures and low humidity. If rain is expected, cover the deck with a tarp to prevent water from interfering with the drying process.
By carefully considering the weather, applying the stain with the right techniques, and allowing adequate drying time, you can achieve a beautiful, long-lasting finish on your deck. This detailed, human-centered guide ensures you get professional results every time.

Post-Staining Care And Maintenance
After putting in the hard work to stain your deck, the last thing you want is for it to look worn out too soon. Proper post-staining care and maintenance are crucial to ensure that your deck remains beautiful and functional for years to come. Here’s how to take care of your newly stained deck, with some specific tips tailored to New Zealand’s unique climate.
Initial Care: Allowing the Stain to Cure Properly
The first step after staining your deck is to allow the stain to cure properly. This curing process is essential to ensure the stain adheres well to the wood and provides long-lasting protection. Here are some key points to remember.
- Drying Time: Depending on the type of stain used and the weather conditions, the drying time can vary. Generally, it’s best to avoid using the deck for at least 24-48 hours after staining. This period allows the stain to penetrate the wood and set properly.
- Avoid Moisture: Keep the deck free from water during the curing period. Rain or even morning dew can interfere with the curing process, leading to an uneven finish. If rain is in the forecast, consider covering the deck with a tarp.
- Minimal Foot Traffic: While it’s drying, limit foot traffic on the deck as much as possible. If you need to walk on it, try to wear clean, soft-soled shoes to avoid scuffing or damaging the fresh stain.
Regular Maintenance Tips
To keep your stained deck looking its best, regular maintenance is necessary. Here are some tips to help you maintain your deck.
Cleaning the Stained Deck
- Routine Cleaning: Regularly sweep off leaves, dirt, and debris. These can trap moisture against the wood, potentially causing mildew and decay.
- Mild Detergent Wash: Use a mild detergent mixed with water to clean the deck surface. A soft brush or mop can help remove grime without damaging the stain. Rinse thoroughly with a garden hose to remove any soap residue.
- Avoid Harsh Chemicals: Steer clear of harsh chemical cleaners or pressure washers, as they can strip away the stain and damage the wood fibers.
Touch-Up Staining for High-Traffic Areas
High-traffic areas on your deck are likely to wear faster than others. Touch-up staining can help maintain an even appearance.
- Spot Treatments: Inspect your deck periodically, especially in areas that see a lot of foot traffic. If you notice any fading or wear, clean the area and apply a small amount of stain to blend it with the rest of the deck.
- Feathering Technique: When applying touch-up stain, use a feathering technique to blend the new stain with the old. This approach helps avoid noticeable patches and keeps the deck looking uniform.
Seasonal Considerations for New Zealand Weather
New Zealand’s climate can be quite diverse, with varying conditions that can affect your deck. Here’s how to care for your stained deck throughout the year.
- Spring and Summer: During the warmer months, your deck is likely to see more use. Regular cleaning is essential to prevent dirt buildup. Also, consider applying a UV-protectant sealer to help protect the stain from sun damage.
- Autumn: As leaves fall, keep your deck clear of debris to prevent staining and mold growth. Autumn is also a good time to inspect your deck for any touch-up staining needs before the wetter months.
- Winter: New Zealand’s winters can be wet, which can be tough on a stained deck. Ensure proper drainage to prevent water from pooling on the surface. If you experience snow in your area, avoid using metal shovels to clear it, as they can scrape and damage the stain.
By following these post-staining care and maintenance tips, you can keep your deck looking stunning and well-protected. Regular attention and seasonal adjustments to your maintenance routine will help your deck withstand New Zealand’s diverse weather conditions, ensuring you can enjoy your outdoor space year-round.

Common Mistakes To Avoid When Staining A Deck
Staining a deck can greatly enhance its appearance and extend its lifespan, but only if done correctly. Many people make mistakes during this process, leading to unsatisfactory results and potential damage. Here are some common mistakes to avoid to ensure your deck staining project is successful.
Over-applying or Under-applying Stain
One of the most frequent errors is not applying the right amount of stain. Over-applying stain can create a sticky, blotchy finish that takes a long time to dry and can peel off over time. On the other hand, under-applying stain might not provide adequate protection or achieve the desired color intensity. It’s crucial to follow the manufacturer’s recommendations regarding how much stain to use and to apply it evenly across the deck’s surface.
Staining in Direct Sunlight or Wet Conditions
The environment in which you stain your deck plays a significant role in the outcome. Staining in direct sunlight can cause the stain to dry too quickly, leading to uneven absorption and a patchy appearance. Conversely, staining in wet conditions or just after a rain can prevent the stain from adhering properly, resulting in a finish that doesn’t last. Always check the weather forecast and choose a day with mild, dry conditions for your staining project.
Neglecting Proper Deck Preparation
Proper preparation is key to a successful staining job. Failing to clean and prep the deck thoroughly can lead to poor stain absorption and an uneven finish. Make sure to remove all dirt, mildew, and old stain from the deck surface. Sand any rough spots and ensure the wood is dry before applying the stain. This preparation helps the stain to penetrate the wood effectively, ensuring a long-lasting and beautiful finish.
Using the Wrong Type of Stain
Not all stains are created equal, and using the wrong type can lead to disappointing results. Deck stains come in various formulations, including oil-based, water-based, and solid or semi-transparent options. Choosing the wrong stain for your deck’s wood type or the climate can affect durability and appearance. Research and select a stain that matches your specific needs, and always test a small area first to see how it looks and performs.
By avoiding these common mistakes, you can achieve a beautifully stained deck that enhances your outdoor space and provides lasting protection. Take your time, prepare properly, and choose the right products to ensure your deck staining project is a success.
FAQs: About How To Stain A Deck NZ
How often should I stain my deck?
It is recommended to stain your deck every 2-3 years. However, this can vary based on the type of stain used, the climate, and the amount of foot traffic the deck receives.
Can I stain a previously painted or stained deck?
Yes, but you will need to remove the old paint or stain first. This can be done through sanding or using a deck stain remover to ensure the new stain adheres properly.
What is the best time of year to stain a deck in NZ?
The best time to stain a deck in New Zealand is during the late spring or early summer when the weather is dry and temperatures are moderate. Avoid staining during high humidity or rainy seasons.
How do I remove old stain before applying a new one?
You can remove old stain by using a deck cleaner or stripper, followed by thorough sanding. Ensure the deck is completely clean and dry before applying a new stain.
What type of stain should I use for my deck in NZ?
Choose a stain that is suitable for New Zealand’s climate. Water-based stains are eco-friendly and dry quickly, while oil-based stains provide deeper penetration and durability.
How long should I wait between coats of stain?
Typically, you should wait 4-6 hours between coats, but it’s best to follow the manufacturer’s instructions on the stain product you are using. Ensure the first coat is completely dry before applying a second one.
Can I stain my deck if it’s going to rain soon?
No, you should avoid staining your deck if rain is expected within 24-48 hours. Rain can wash away the stain before it has a chance to dry and cure, leading to uneven coverage and potential damage.
Do I need to sand my deck before staining?
Yes, sanding your deck before staining helps to remove any old finish, smooths out the wood surface, and ensures better absorption of the stain. Focus on rough spots and any areas with peeling stain.
How do I maintain my deck after staining?
Regularly clean your deck with a mild detergent and water to remove dirt and debris. Avoid using harsh chemicals that can strip the stain. Inspect the deck annually for signs of wear and touch up as needed.
What safety precautions should I take when staining my deck?
Wear protective gear such as gloves, goggles, and a mask to protect yourself from fumes and splashes. Ensure good ventilation if you’re using oil-based stains and keep children and pets away from the area until the stain is fully dry.
Conclusion
In conclusion, staining a deck involves several crucial steps that ensure a beautiful and long-lasting finish. First, thoroughly clean and prepare the deck surface, removing all dirt, debris, and previous stains. Next, allow the deck to dry completely before applying the stain. Choose a high-quality stain suitable for your deck material and apply it evenly, following the grain of the wood for the best results. Multiple coats may be necessary for optimal protection and appearance. Finally, allow ample drying time before using the deck to ensure the stain sets properly. Taking on this project can transform your outdoor space, adding both beauty and durability. If you have any questions or would like to share your deck staining experiences, please feel free to reach out. Your feedback and queries are always welcome.
About the Author:
Mike Veail is a recognized digital marketing expert with over 6 years of experience in helping tradespeople and small businesses thrive online. A former quantity surveyor, Mike combines deep industry knowledge with hands-on expertise in SEO and Google Ads. His marketing strategies are tailored to the specific needs of the trades sector, helping businesses increase visibility and generate more leads through proven, ethical methods.
Mike has successfully partnered with numerous companies, establishing a track record of delivering measurable results. His work has been featured across various platforms that showcase his expertise in lead generation and online marketing for the trades sector.
Learn more about Mike's experience and services at https://theleadguy.online or follow him on social media:

